Playing with SunOS 4.1.4 SPARC on QEmu
I've previously tried getting SunOS 4 to run on the SPARC version of QEmu. Back then, my source of install media was a SunOS 4.1.2 CDROM that I had for my Sun SPARCstation IPC machines. Unfortunately, the only emulated old classic-style SPARCstation that I could get to even qemu-boot was the SPARCstation 5, and that hardware is not recognized by the Unix kernel on the CD, so it refuses to boot. The oldest version of SunOS4 that boots on the SS5 is SunOS 4.1.4, and I could not find install media for that version.
However, I recently realized that my quest for SunOS4 on QEmu could be completed! I had been stupid, and searched for install media for the wrong name! Sun decided to stop using the name SunOS when they started using more BSD/SysV mixing, and started using Solaris as the name instead. So, Solaris 1.1.2 is actually the name for SunOS 4.1.4! I managed to track down an ISO image that wanted to boot at https://winworldpc.com/product/sun-solaris/1x
Starting out with my old notes from a previous try at installing SunOS 4.1.2, I went with a 2GB QEmu disk image, as this matches nicely with a "type SUN2.1G" disk in the predefined disk layouts:
qemu-img create -f raw -o compat=1.1 sunos414.img 2G
Using that image, and the Solaris ISO file, I could start up QEmu (with an NVRAM clock set to before Y2K). Note that this is one command, I just split it across two lines here to make it readable.
qemu-system-sparc -vga cg3 -M SS-5 -bios ss5.bin -m 32
    -startdate "1999-04-19" -hda .\sunos414.img -hdb Solaris1_1_2.iso
Next, we need to boot the kernel that's in the D slice of the CDROM. If that doesn't make sense to you, that's perfectly OK. Sun installation CDROMs are actually UFS disk images with partitions, and UFS partitions have lettered labels. And in their wisdom, Sun placed the kernel on the fourth UFS partition (at least, that's how I understand it).
ok boot disk1:d
This boots the CDROM environment, starting the install process:
What would you like to do?
  1 - install SunOS mini-root
  2 - exit to single user shell
Enter a 1 or 2: 1
Beginning system installation - probing for disks.
Which disk do you want to be your miniroot system disk?
  1 - sd1:   at esp0 slave 8
  2 - sd3:  > at esp0 slave 0
  3 - exit to single user shell
Enter a 1, 2 or 3: 2
selected disk unit "sd3".
Do you want to format and/or label disk "sd3"?
  1 - yes, run format
  2 - no, continue with loading miniroot
  3 - no, exit to single user shell
Enter a 1, 2, or 3: 1
The format program on SunOS/Solaris isn't "format", but a combination of fdisk, format, and a bunch of other toools. Once it's started, we need to tell it what type of disk we have. With the 2GB QEmu image, the correct option is 13. If a different disk image size is used, it's probably possible to "make it supported" by fooling around with the configuration in /etc/format.dat. Good luck doing that on the CD.
format> type


AVAILABLE DRIVE TYPES:
        0. Quantum ProDrive 80S
        1. Quantum ProDrive 105S
        2. CDC Wren IV 94171-344
        3. SUN0104
        4. SUN0207
        5. SUN0320
        6. SUN0327
        7. SUN0424
        8. SUN0535
        9. SUN0669
        10. SUN1.0G
        11. SUN1.05
        12. SUN1.3G
        13. SUN2.1G
        14. CD-ROM Disc for SunOS Installation
        15. other
Specify disk type (enter its number): 13
selecting sd3:
[disk formatted, no defect list found]
format> label
Ready to label disk, continue? y

format> partition
partition> print
Current partition table (SUN2.1G_PREINSTALL):
        partition a - starting cyl      0, # blocks    62320 (41/0/0)
        partition b - starting cyl     41, # blocks   197600 (130/0/0)
        partition c - starting cyl      0, # blocks  4154160 (2733/0/0)
        partition d - starting cyl      0, # blocks        0 (0/0/0)
        partition e - starting cyl      0, # blocks        0 (0/0/0)
        partition f - starting cyl      0, # blocks        0 (0/0/0)
        partition g - starting cyl    171, # blocks  1947120 (1281/0/0)
        partition h - starting cyl   1452, # blocks  1947120 (1281/0/0)

partition> label
partition> quit
format> quit
checking writeability of /dev/rsd3b
0+1 records in
1+0 records out
Extracting miniroot ...
using cdrom partition number 3
fastread: failed to open /dev/rsr0No such device or address
ERROR while loading miniroot disk: /dev/rsd3b
And this is where I initially got stuck, and ended up at https://en.wikibooks.org/wiki/QEMU/SunOS_4.1.4.
The doc' there is so close to identical to what I've done so far, I suspect it's the guide I got my instructions for when I tried the older SunOS previously. Anywho, it contains the fix! The failure of
the preceding step drops you to shell, so we can type:
# dd if=/dev/rsd1d bs=4096 skip=1024 count=1750 of=/dev/sd3b
1750+0 records in
1750+0 records out
# reboot
What we did there, was use "dd" to read the raw data, in 4096 chunks, from the CDROM, starting at the start-location for the SunOS MINIROOT environment, and slurping the entire Miniroot over to the B partition of the hard drive. So now, the hard disk should be available for boot, using the b partition, remembering to make it writeable with the -w option:
ok boot disk0:b -w
Now, QEmu exposes the installation CDROM as a harddisk to SunOS. And the installer "suninstall" plain refuses to install from CDROM. So we myst lie to it, and make it believe the "scsi disk" is a "scsi cdrom". We do this my moving device files around. During the installation, MAKEDEV will be run to make device files, so we must modify that one to make it not remove our "fake cdrom"
# cd /dev
# mv sr0 sr0.bak
# ln -s sd1a sr0
# mv MAKEDEV MAKEDEV.bak
# sed 's/sr0 //' MAKEDEV.bak > MAKEDEV
# chmod 755 MAKEDEV
# cd /
Allrighty, ready for installation:
# suninstall

                               Welcome to SunInstall

     Remember:  Always back up your disks before beginning an installation.

  SunInstall provides two installation methods:
     1. Quick installation

        This option provides an automatic installation with a choice of
        standard installations, and a minimum number of questions asked.

     2. Custom installation

        Choose this method if you want more freedom to configure your
        system.  You must use this option if you are installing your
        system as a server.

        Your choice (or Q to quit) >> 2


Enter the local time zone name (enter ? for help):

>> GMT
I chose to tell "suninstall" that I was on GMT, because that was simpler than navigating the timezone selct menu screens. For the next steps, we need to use the menus. Make sure to read the onscreen text, the UI is not the most intuitive one, but should be familiar if you've done anything with older Sun OSes before.
 HOST FORM                [?=help] [DEL=erase one char] [RET=end of input data]
-----------------------------------------------------------------------------
 Workstation Information :
      Name : solqemux
      Type : x[standalone]  [server]  [dataless]


 Network Information :
      Ethernet Interface :  [none] x[le0]

      Internet Address   : 10.0.3.180
      NIS Type           : x[none]  [master]  [slave]  [client]


 Misc Information :
      Reboot after completed        :  [y] x[n]


 Are you finished with this form [y/n] ? y
    [x/X=select choice] [space=next choice] [^B/^P=backward] [^F/^N=forward]
 DISK FORM                [?=help] [DEL=erase one char] [RET=end of input data]
 -----------------------------------------------------------------------------
 Attached Disk Devices :
    [sd1]    x[sd3]

 Disk Label :  [default] x[use existing]  [modify existing]
 Free Hog Disk Partition :  [d]  [e]  [f]  [g] x[h]
 Display Unit            : x[Mbytes]  [Kbytes]  [blocks]  [cylinders]

 PARTITION START_CYL BLOCKS    SIZE     MOUNT PT             PRESERVE(Y/N)
 ==============================================================================
     a     0         62320     31       /                          n
     b     41        197600    100
     c     0         4154160   2126
     d     0         0         0
     e     0         0         0
     f     0         0         0
     g     171       1947120   996      /usr                       n
     h     1452      1947120   996      /home                      n


 Ok to use this partition table [y/n] ? y
    [x/X=select choice] [space=next choice] [^B/^P=backward] [^F/^N=forward]
 SOFTWARE FORM            [?=help] [DEL=erase one char] [RET=end of input data]
 -----------------------------------------------------------------------------
 Software Architecture Operations :
      x[add new release]  [edit existing release]


 Media Information :
      Media Device   :  [st0]  [st1]  [st2]  [st_]  [xt0]  [mt0]  [fd0] x[sr0]
      Media Location : x[local]  [remote]


 Choice : x[all]  [default]  [required]  [own choice]
      Executables path :  /usr
      Kernel executables path :  /usr/kvm


 Ok to use these values to select Software Categories [y/n] ? y
    [x/X=select choice] [space=next choice] [^B/^P=backward] [^F/^N=forward]
 MAIN MENU                                                            [?=help]
 -----------------------------------------------------------------------------
                   Sun Microsystems System Installation Tool

                     ( + means the data file(s) exist(s) )


                    +     assign host information

                    +     assign disk information

                    +     assign software information


                          start the installation

                          exit suninstall


  [RET/SPACE=next choice] [x/X=select choice] [^B/^P=backward] [^F/^N=forward]
And there, the OS is actually installed! If you are a SunOS/Solaris guru, this is the time to tweak stuff. If not, it's safe to initiate a reboot.
# reboot
For the normal boot, the boot command changes slightly. Now we can tell our "SPARCStation" to just boot off the first disk:
ok boot disk0
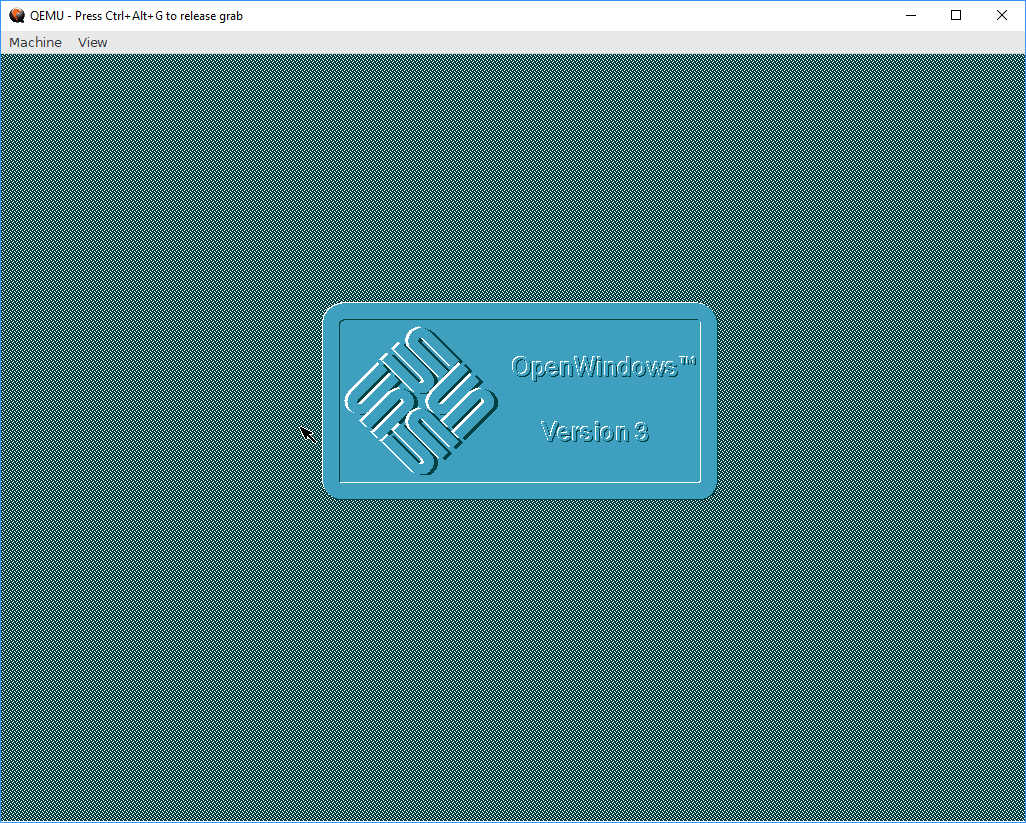
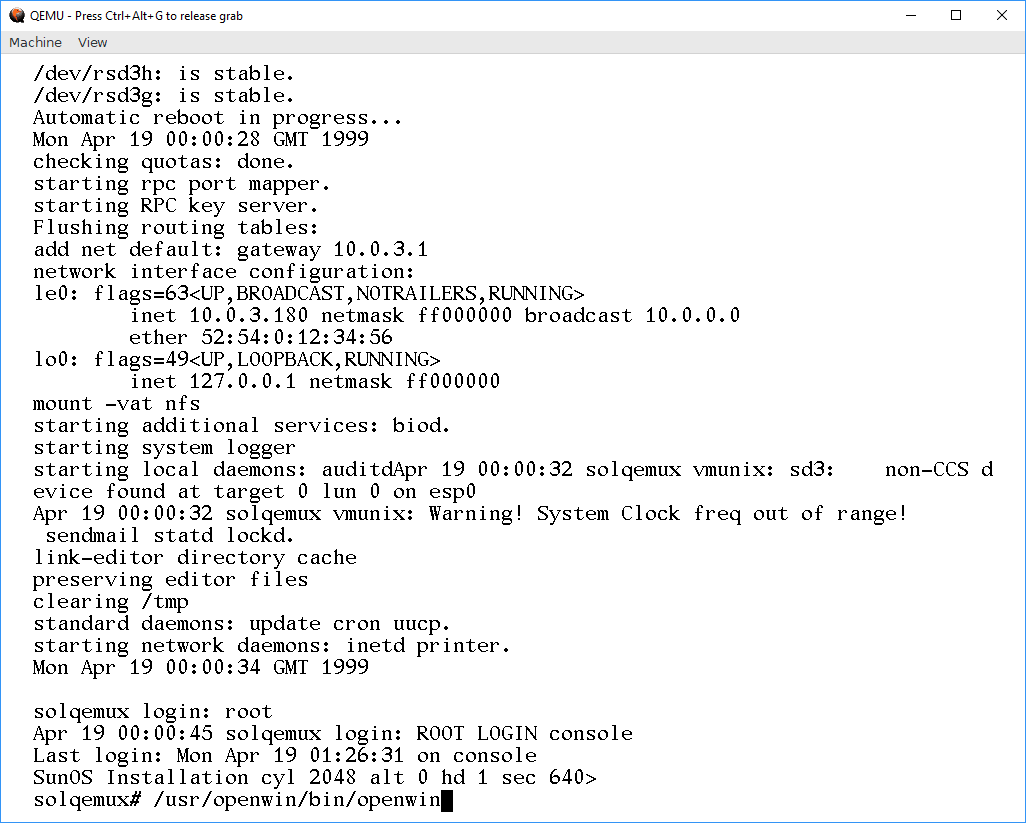
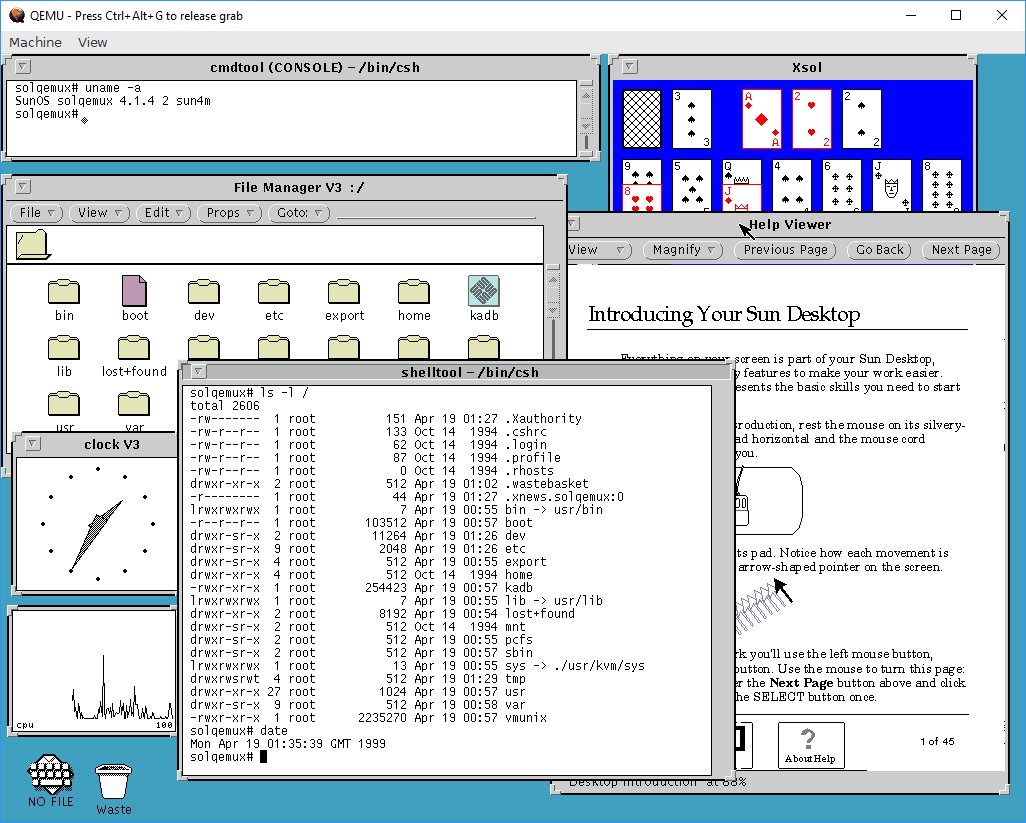
This brings the system up. Logging in as "root" is done without a password, as none is set during install. OpenWindows works, as long as you remember that it's not in path by default:
Playing with old and retro stuff is a thing I do. And playing with other architectures than x86/arm even more so. But having to dig out the old, real hardware isn't always possible. For example, it may be winter, cold, and much snow, and the computers may be "frozen in" in the garage. Norwegian winters can be cold 🙂
So being able to do this using QEmu is really a boon! However, I must say that using QEmu on Windows has been one of the least stable and most unpleasant experiences I've had in a while. Keyboard I/O is about 60% reliable, and will lock up in the weirdest ways, constantly. I've had to reset my emulator more times than I can count, just to get to the "suninstall" command, just because I/O has locked up in some way or another. I am going to try this experiment again on Linux, and hopefully my experience will be better there.
Oh, and I tried installing OpenSTEP 4.2 for SPARC. And it REALLY does not want to play ball. It hangs on disk I/O, so I've never actually gotten the installer to start. But it does give some fun warnings though:
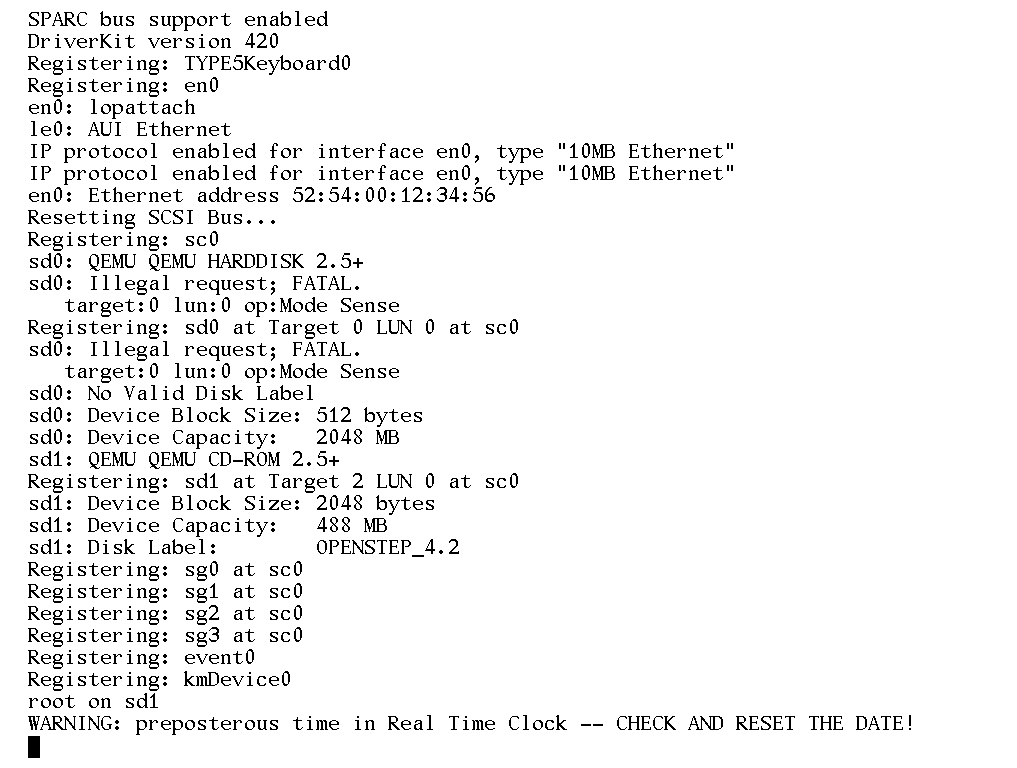
WARNING: preposterous time in Real Time Clock
March 20th, 2018 - 12:31
I dont have much experiance with Solaris or SPARC systems in general but I think your using an older qemu build. the newer Qemu hash that RTC problem fixed and a newer style of qemu commandline invocation.
$ qemu-system-sparc -M SS-5 -bios SunStation5/ss5.bin -L SunStation5/ -m 256 -drive if=none,id=hd,file=36GBSun.qcow2,format=qcow2 -device scsi-hd,drive=hd
And in the boot envirement I typed: boot disk0
I cant figure out wich boot-env I should give to autoboot, maybe I should stick to openBIOS for SPARC? I dunno, just make sure you use the newest qemu 😉 fixed the RTC problem.