Playing with SunOS 4.1.4 SPARC on QEmu
I've previously tried getting SunOS 4 to run on the SPARC version of QEmu. Back then, my source of install media was a SunOS 4.1.2 CDROM that I had for my Sun SPARCstation IPC machines. Unfortunately, the only emulated old classic-style SPARCstation that I could get to even qemu-boot was the SPARCstation 5, and that hardware is not recognized by the Unix kernel on the CD, so it refuses to boot. The oldest version of SunOS4 that boots on the SS5 is SunOS 4.1.4, and I could not find install media for that version.
However, I recently realized that my quest for SunOS4 on QEmu could be completed! I had been stupid, and searched for install media for the wrong name! Sun decided to stop using the name SunOS when they started using more BSD/SysV mixing, and started using Solaris as the name instead. So, Solaris 1.1.2 is actually the name for SunOS 4.1.4! I managed to track down an ISO image that wanted to boot at https://winworldpc.com/product/sun-solaris/1x
Starting out with my old notes from a previous try at installing SunOS 4.1.2, I went with a 2GB QEmu disk image, as this matches nicely with a "type SUN2.1G" disk in the predefined disk layouts:
qemu-img create -f raw -o compat=1.1 sunos414.img 2G
Using that image, and the Solaris ISO file, I could start up QEmu (with an NVRAM clock set to before Y2K). Note that this is one command, I just split it across two lines here to make it readable.
qemu-system-sparc -vga cg3 -M SS-5 -bios ss5.bin -m 32
    -startdate "1999-04-19" -hda .\sunos414.img -hdb Solaris1_1_2.iso
Next, we need to boot the kernel that's in the D slice of the CDROM. If that doesn't make sense to you, that's perfectly OK. Sun installation CDROMs are actually UFS disk images with partitions, and UFS partitions have lettered labels. And in their wisdom, Sun placed the kernel on the fourth UFS partition (at least, that's how I understand it).
ok boot disk1:d
This boots the CDROM environment, starting the install process:
What would you like to do?
  1 - install SunOS mini-root
  2 - exit to single user shell
Enter a 1 or 2: 1
Beginning system installation - probing for disks.
Which disk do you want to be your miniroot system disk?
  1 - sd1:   at esp0 slave 8
  2 - sd3:  > at esp0 slave 0
  3 - exit to single user shell
Enter a 1, 2 or 3: 2
selected disk unit "sd3".
Do you want to format and/or label disk "sd3"?
  1 - yes, run format
  2 - no, continue with loading miniroot
  3 - no, exit to single user shell
Enter a 1, 2, or 3: 1
The format program on SunOS/Solaris isn't "format", but a combination of fdisk, format, and a bunch of other toools. Once it's started, we need to tell it what type of disk we have. With the 2GB QEmu image, the correct option is 13. If a different disk image size is used, it's probably possible to "make it supported" by fooling around with the configuration in /etc/format.dat. Good luck doing that on the CD.
format> type


AVAILABLE DRIVE TYPES:
        0. Quantum ProDrive 80S
        1. Quantum ProDrive 105S
        2. CDC Wren IV 94171-344
        3. SUN0104
        4. SUN0207
        5. SUN0320
        6. SUN0327
        7. SUN0424
        8. SUN0535
        9. SUN0669
        10. SUN1.0G
        11. SUN1.05
        12. SUN1.3G
        13. SUN2.1G
        14. CD-ROM Disc for SunOS Installation
        15. other
Specify disk type (enter its number): 13
selecting sd3:
[disk formatted, no defect list found]
format> label
Ready to label disk, continue? y

format> partition
partition> print
Current partition table (SUN2.1G_PREINSTALL):
        partition a - starting cyl      0, # blocks    62320 (41/0/0)
        partition b - starting cyl     41, # blocks   197600 (130/0/0)
        partition c - starting cyl      0, # blocks  4154160 (2733/0/0)
        partition d - starting cyl      0, # blocks        0 (0/0/0)
        partition e - starting cyl      0, # blocks        0 (0/0/0)
        partition f - starting cyl      0, # blocks        0 (0/0/0)
        partition g - starting cyl    171, # blocks  1947120 (1281/0/0)
        partition h - starting cyl   1452, # blocks  1947120 (1281/0/0)

partition> label
partition> quit
format> quit
checking writeability of /dev/rsd3b
0+1 records in
1+0 records out
Extracting miniroot ...
using cdrom partition number 3
fastread: failed to open /dev/rsr0No such device or address
ERROR while loading miniroot disk: /dev/rsd3b
And this is where I initially got stuck, and ended up at https://en.wikibooks.org/wiki/QEMU/SunOS_4.1.4.
The doc' there is so close to identical to what I've done so far, I suspect it's the guide I got my instructions for when I tried the older SunOS previously. Anywho, it contains the fix! The failure of
the preceding step drops you to shell, so we can type:
# dd if=/dev/rsd1d bs=4096 skip=1024 count=1750 of=/dev/sd3b
1750+0 records in
1750+0 records out
# reboot
What we did there, was use "dd" to read the raw data, in 4096 chunks, from the CDROM, starting at the start-location for the SunOS MINIROOT environment, and slurping the entire Miniroot over to the B partition of the hard drive. So now, the hard disk should be available for boot, using the b partition, remembering to make it writeable with the -w option:
ok boot disk0:b -w
Now, QEmu exposes the installation CDROM as a harddisk to SunOS. And the installer "suninstall" plain refuses to install from CDROM. So we myst lie to it, and make it believe the "scsi disk" is a "scsi cdrom". We do this my moving device files around. During the installation, MAKEDEV will be run to make device files, so we must modify that one to make it not remove our "fake cdrom"
# cd /dev
# mv sr0 sr0.bak
# ln -s sd1a sr0
# mv MAKEDEV MAKEDEV.bak
# sed 's/sr0 //' MAKEDEV.bak > MAKEDEV
# chmod 755 MAKEDEV
# cd /
Allrighty, ready for installation:
# suninstall

                               Welcome to SunInstall

     Remember:  Always back up your disks before beginning an installation.

  SunInstall provides two installation methods:
     1. Quick installation

        This option provides an automatic installation with a choice of
        standard installations, and a minimum number of questions asked.

     2. Custom installation

        Choose this method if you want more freedom to configure your
        system.  You must use this option if you are installing your
        system as a server.

        Your choice (or Q to quit) >> 2


Enter the local time zone name (enter ? for help):

>> GMT
I chose to tell "suninstall" that I was on GMT, because that was simpler than navigating the timezone selct menu screens. For the next steps, we need to use the menus. Make sure to read the onscreen text, the UI is not the most intuitive one, but should be familiar if you've done anything with older Sun OSes before.
 HOST FORM                [?=help] [DEL=erase one char] [RET=end of input data]
-----------------------------------------------------------------------------
 Workstation Information :
      Name : solqemux
      Type : x[standalone]  [server]  [dataless]


 Network Information :
      Ethernet Interface :  [none] x[le0]

      Internet Address   : 10.0.3.180
      NIS Type           : x[none]  [master]  [slave]  [client]


 Misc Information :
      Reboot after completed        :  [y] x[n]


 Are you finished with this form [y/n] ? y
    [x/X=select choice] [space=next choice] [^B/^P=backward] [^F/^N=forward]
 DISK FORM                [?=help] [DEL=erase one char] [RET=end of input data]
 -----------------------------------------------------------------------------
 Attached Disk Devices :
    [sd1]    x[sd3]

 Disk Label :  [default] x[use existing]  [modify existing]
 Free Hog Disk Partition :  [d]  [e]  [f]  [g] x[h]
 Display Unit            : x[Mbytes]  [Kbytes]  [blocks]  [cylinders]

 PARTITION START_CYL BLOCKS    SIZE     MOUNT PT             PRESERVE(Y/N)
 ==============================================================================
     a     0         62320     31       /                          n
     b     41        197600    100
     c     0         4154160   2126
     d     0         0         0
     e     0         0         0
     f     0         0         0
     g     171       1947120   996      /usr                       n
     h     1452      1947120   996      /home                      n


 Ok to use this partition table [y/n] ? y
    [x/X=select choice] [space=next choice] [^B/^P=backward] [^F/^N=forward]
 SOFTWARE FORM            [?=help] [DEL=erase one char] [RET=end of input data]
 -----------------------------------------------------------------------------
 Software Architecture Operations :
      x[add new release]  [edit existing release]


 Media Information :
      Media Device   :  [st0]  [st1]  [st2]  [st_]  [xt0]  [mt0]  [fd0] x[sr0]
      Media Location : x[local]  [remote]


 Choice : x[all]  [default]  [required]  [own choice]
      Executables path :  /usr
      Kernel executables path :  /usr/kvm


 Ok to use these values to select Software Categories [y/n] ? y
    [x/X=select choice] [space=next choice] [^B/^P=backward] [^F/^N=forward]
 MAIN MENU                                                            [?=help]
 -----------------------------------------------------------------------------
                   Sun Microsystems System Installation Tool

                     ( + means the data file(s) exist(s) )


                    +     assign host information

                    +     assign disk information

                    +     assign software information


                          start the installation

                          exit suninstall


  [RET/SPACE=next choice] [x/X=select choice] [^B/^P=backward] [^F/^N=forward]
And there, the OS is actually installed! If you are a SunOS/Solaris guru, this is the time to tweak stuff. If not, it's safe to initiate a reboot.
# reboot
For the normal boot, the boot command changes slightly. Now we can tell our "SPARCStation" to just boot off the first disk:
ok boot disk0
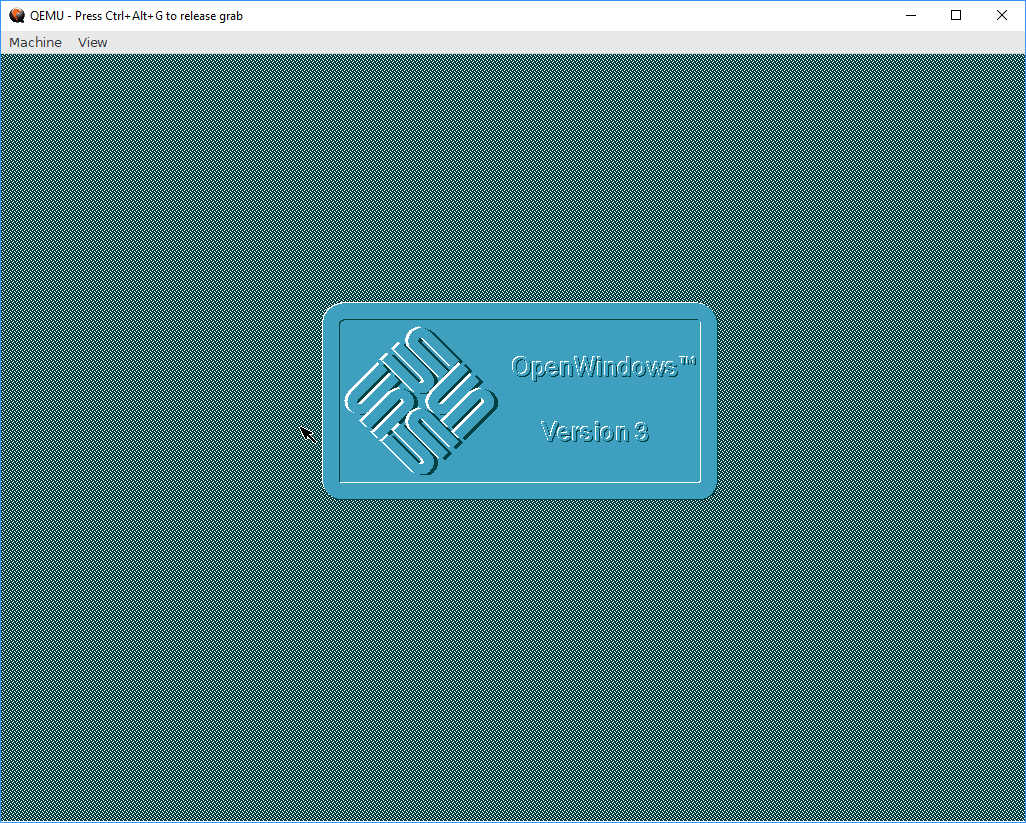
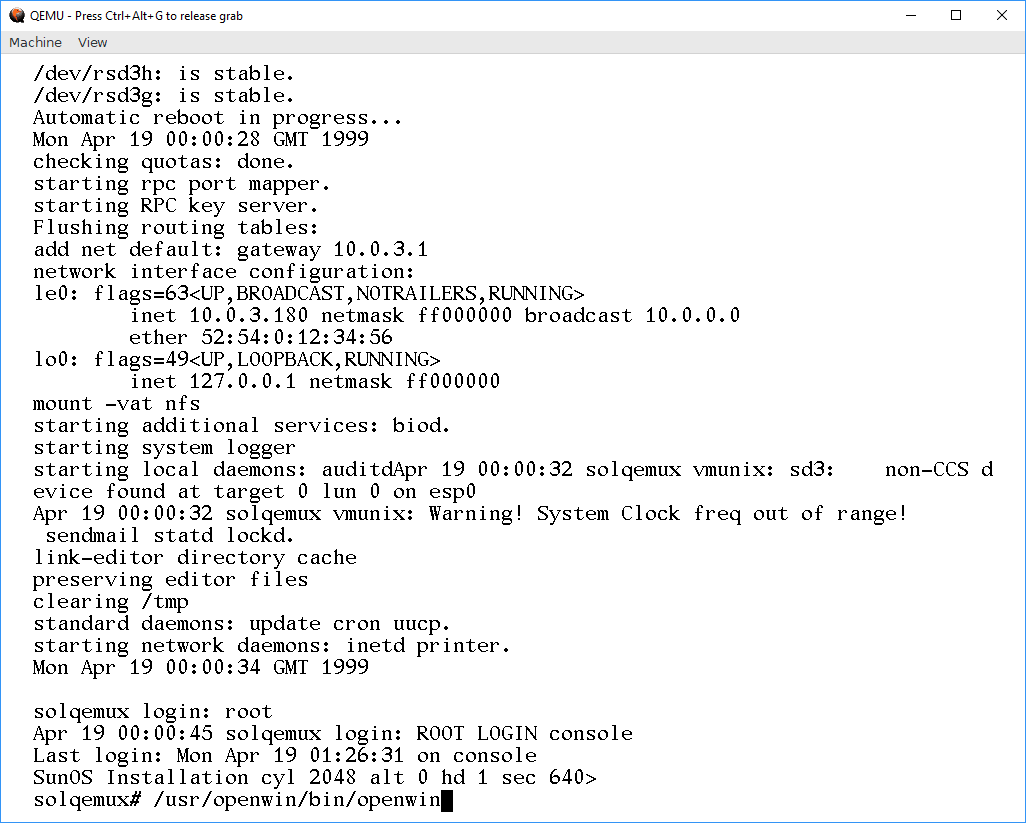
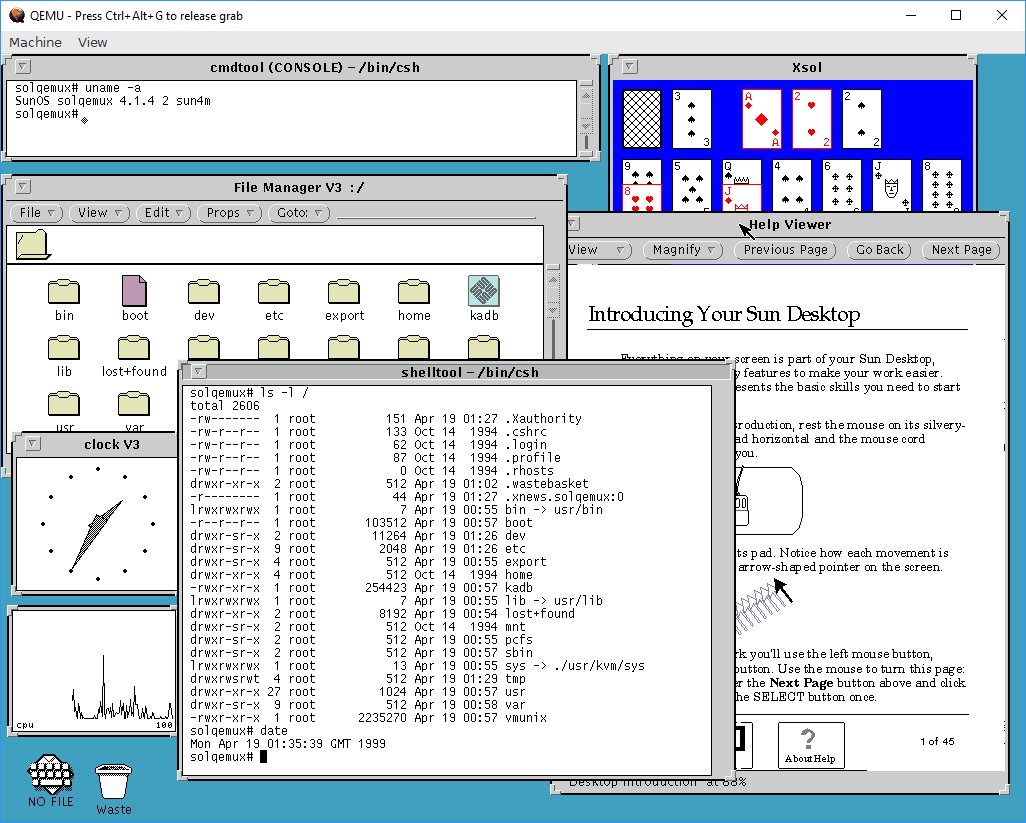
This brings the system up. Logging in as "root" is done without a password, as none is set during install. OpenWindows works, as long as you remember that it's not in path by default:
Playing with old and retro stuff is a thing I do. And playing with other architectures than x86/arm even more so. But having to dig out the old, real hardware isn't always possible. For example, it may be winter, cold, and much snow, and the computers may be "frozen in" in the garage. Norwegian winters can be cold 🙂
So being able to do this using QEmu is really a boon! However, I must say that using QEmu on Windows has been one of the least stable and most unpleasant experiences I've had in a while. Keyboard I/O is about 60% reliable, and will lock up in the weirdest ways, constantly. I've had to reset my emulator more times than I can count, just to get to the "suninstall" command, just because I/O has locked up in some way or another. I am going to try this experiment again on Linux, and hopefully my experience will be better there.
Oh, and I tried installing OpenSTEP 4.2 for SPARC. And it REALLY does not want to play ball. It hangs on disk I/O, so I've never actually gotten the installer to start. But it does give some fun warnings though:
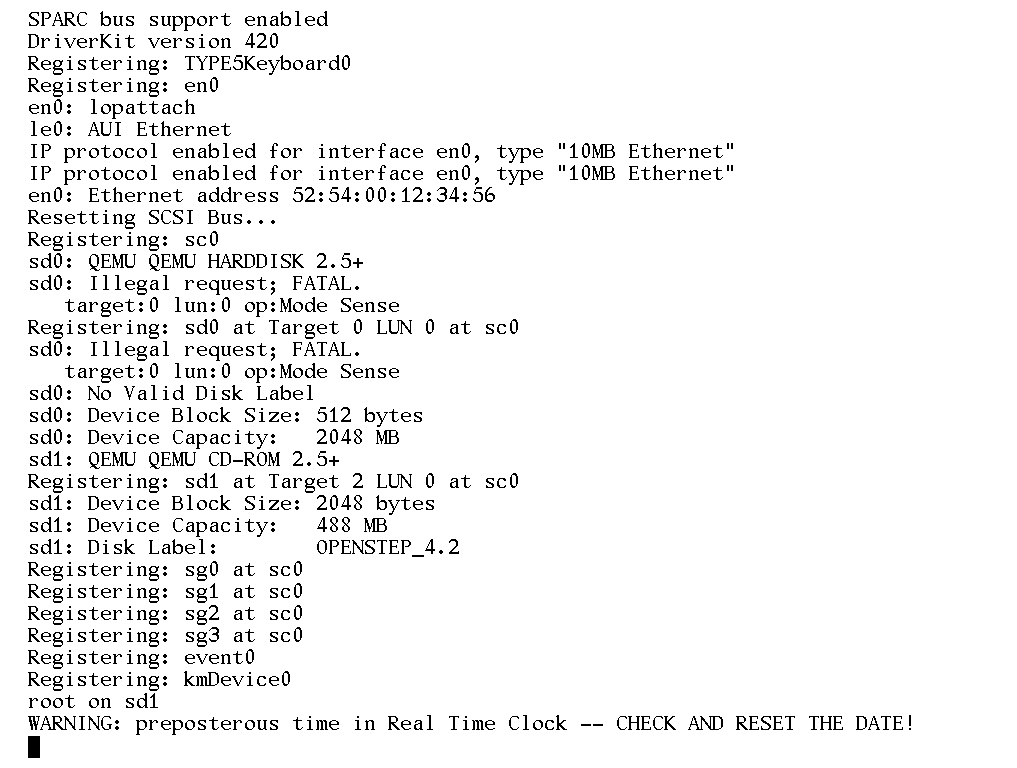
WARNING: preposterous time in Real Time Clock
Xen on Debian Stretch (with VLAN networking).
This is an update to my old post about Xen on Debian Wheezy. The process of getting my configuration of Xen running on Debian 9 is very close to the old approach, so I'll only cover the differences.
I've recently been "forced" to update my Xen setup. The setup has been working great for me, and is still working great. But recently I really need to get some Stretch, CentOS and Windows VMs up. The old versions of Xen and pygrub in Wheezy refuses to boot the modern kernels for Linux, and the machine I use as host is unable to du HVM for Windows. And Wheezy is getting really old, and is soon getting dropped out of support.
Installing Xen
The primary install command is still exactly the same as it was before:
apt-get install xen-linux-system
In the old guide, I next described how one would get Grub to automatically boot into the Xen kernel. This is not needed on Stretch, the Xen hypervisor kernel is automatically set as the defaul boot option when it gets installed.
The points about memory allocation and balooning still apply, but the memory requirement is a little bit higher. I recommended reserving 768MB to dom0 on Wheezy. This will work and let you boot and stuff with Stretch, but it will be a bit tight. So upping the reserved allocated memory to a full GB makes sense.
Adding the kernel-option to 'fix' the memory size:
cat <<END >>/etc/default/grub
# Xen boot parameters for all Xen boots
GRUB_CMDLINE_XEN="dom0_mem=1024M"
END
update-grub
Edit /etc/xen/xend-config.sxp and change the dom0-min-mem and dom0-ballooning lines:
(dom0-min-mem 1024)
(enable-dom0-ballooning no)
Network configuration
There are a few changes to the network setup. One of the more visible changes in configuration files is that Debian is no longer using "legacy names" for network interfaces, instead presenting systemd predictable names. And with this switch to systemd, the familiar command "ifconfig" has been dropped completely, forcing us to move to the much more useful "ip" command.
Next, having dummyX network interfaces now require that you set them up before you try to use them in /etc/network/interfaces. You can use a dummy-interface manually after boot by simply creating it, but to have it available on boot, you need to load the module explicitly. Add the following to /etc/modules:
# /etc/modules: kernel modules to load at boot time.
dummy
Next, we need to specify how many dummy-devices we want as a module load option. Create the file /etc/modprobe.d/dummy.conf with a single line:
options dummy numdummies=1
Of course, if you want multiple vm-to-vm local network bridges available, increase the numdummies as desired.
My /etc/network/interfaces is fairly verbosely commented, so again, I'm including it directly, and letting it speak for it self. Remember to install bridge-utils to get working network bridges.
# This file describes the network interfaces available on your system
# and how to activate them. For more information, see interfaces(5).

# The loopback network interface
auto lo
iface lo inet loopback

# The primary network interface, used for management and in the future, iSCSI
# In my setup I'm actually using DHCP for address, with the address locked down
# on the DHCP-server side..
allow-hotplug enp3s0
iface enp3s0 inet dhcp
iface enp3s0 inet6 auto

# Create a dummy interface to use with a "local-only"
# bridge to use for domU-to-domU pure local traffic
auto dummy0
iface dummy0 inet manual
	pre-up ip link set dev $IFACE up
	post-down ip link set dev $IFACE down

# Bring up the NIC for VM networks, but with no address configuration
# The interface will be used later as a bridge-port interface.
# It is also connected to a switchport that does VLAN
# trunking with native (untagged) VLAN 2 and VLANs 3,4 and 5 tagged.
auto ens2f0
iface ens2f0 inet manual
	pre-up ip link set dev $IFACE up
	post-down ip link set dev $IFACE down

# VLAN CREATION
# Creating VLANs has become a lot better in Wheezy.
# All that is needed to create a VLAN subinterface now,
# is to add a stanza for a eintfX.Y subinterface. Y becomes
# the VLAN ID.

# Adding VLANs tagged on eth1. These are simply
# brought up, they will be added as bridge-ports later.

auto ens2f0.2
iface ens2f0.2 inet manual
	pre-up ip link set dev $IFACE up
	post-down ip link set dev $IFACE down

auto ens2f0.3
iface ens2f0.3 inet manual
	pre-up ip link set dev $IFACE up
	post-down ip link set dev $IFACE down

auto ens2f0.4
iface ens2f0.4 inet manual
	pre-up ip link set dev $IFACE up
	post-down ip link set dev $IFACE down

auto ens2f0.5
iface ens2f0.5 inet manual
	pre-up ip link set dev $IFACE up
	post-down ip link set dev $IFACE down

# BRIDGES
# Add the bridge for pure local-only communication between
# domU's. Just for fun, I'm setting an IP on this interface..
auto xenlocal
iface xenlocal inet static
        bridge_ports dummy0
       	address 192.168.127.2
	netmask 255.255.255.0
	bridge_stp off

# None of the interfaces below have IP addresses assigned. Any domU hosts using
# these are not supposed to use the bridge for direct communication with dom0.

# The configuration for the VLANs is very repetitive: An 'auto' line to make
# sure the interface comes up automagically, an 'iface' line setting the bridge
# name and defining it to 'manual' configuration, definition of the VLAN
# subinterface, and finally setting Spanning Tree to 'on'.
# If even more control over the bridge interfaces is needed,
# read 'man 5 bridge-utils-interfaces'

# For the VLANs, I used 'vlanX' as bridge-name
# ens2f0 is used as physical-interface for both untagged and for tagged VLANs,
# please review the separate ens2f0 and ens2f0.X definitions above, and separate
# vlanX bridges below.

auto vlan2
iface vlan2 inet manual
        bridge_ports ens2f0.2
        bridge_stp on
	bridge_maxwait 0

auto vlan3
iface vlan3 inet manual
	bridge_ports ens2f0.3
	bridge_stp on
	bridge_maxwait 0

auto vlan4
iface vlan4 inet manual
	bridge_ports ens2f0.4
	bridge_stp on
	bridge_maxwait 0

auto vlan5
iface vlan5 inet manual
	bridge_ports ens2f0.5
	bridge_stp on
	bridge_maxwait 0
Getting Debian Xen Netinstall data
I've updated my "update-debian" script to make adding and removing releases easier. The new version does the same as the old one: It pulls down the Xen kernel and initramfs images for Debian netinstall from the Debian servers.
#!/bin/bash
DEBINSTROOT=http://cdn.debian.net/debian/dists/
DISTROS="wheezy jessie stretch"
for DIST in ${DISTROS}
do
 for ARCH in i386 amd64
 do
 mkdir -p /srv/xen/boot/debian/${DIST}/${ARCH}
 for FILE in vmlinuz initrd.gz
 do
 wget ${DEBINSTROOT}/${DIST}/main/installer-${ARCH}/current/images/netboot/xen/${FILE} \
 -nc -O /srv/xen/boot/debian/${DIST}/${ARCH}/${FILE}
 done
 done
done
Creating virtual machines (domU)
In the old post I described how to use some pre-built templates for creating virtual machines. I have generally not used that approach, so I'm not updating that doc. The "official" way of creating new virtual machines seems to be using xen-tools for deployment, or some libvirt magic. Sounds great, I haven't tested it 😀
My way of creating machines is simply to copy a template configuration, and run the installer. My updated template is more or less identical to the old one:
name = "hostname"
memory = 512

# Let xm/xl allocate MAC-address on first boot:
vif = ['bridge=vlan2']
# Get MAC-address from first boot, and update:
#vif = ['mac=xx:xx:xx:xx:xx:xx,bridge=vlan2']

disk = ['file:/srv/xen/hostname_root.img,xvda,w']

# During install, use the erknel/ramdisk/bootloader lines
kernel = "/srv/xen/boot/debian/stretch/amd64/vmlinuz"
ramdisk = "/srv/xen/boot/debian/stretch/amd64/initrd.gz"
extra = "debian-installer/exit/always_halt=true -- console=hvc0"

# When install is done, remove those, and switch to pygrub or pvgrub
bootloader="pygrub"

# Select what to do on a reboot:
# stop the VM as if a HALT was done, or actually restart.
on_reboot = 'destroy'
#on_reboot = 'restart'

# You can select to auto-restart a VM that crashes.
# I prefer to manyally handle crashes.
on_crash = 'destroy'
The absolute minimum amount of RAM needed to boot the Debian 9 installer is 450MB. I discovered this the hard way, simply because my old template used 384MB RAM as the initial allocation.
This template uses qemu-diskimages, not LVM volumes or such magic. Creating the disk image is as before:
qemu-img create -f raw /srv/xen/hostname_root.img 10G
The toolstack has been changed from xm to xl
Along the upgrade-path from Xen 4.0 to the current 4.9 version, the older "xm" toolstack got replaced by "xl". This really does not make much difference in simple use, as the commands are more-or-less interchangable. My cheat-sheet for commands generally only substitute "xl" where it used to be "xm". Discovering what NIC and MAC-address has been allocated to a VM is now done easily with xl, so poking around in xenstore-ls is no longer needed:
# I use the machine's FQDN as it's domU domainname.
# So, in examples, replace hostname w/Xen domU domainname

# Start VM, don't attach to console
xl create /etc/xen/guests/hostname.cfg

# Start VM, attach to console immediately
xl create -c /etc/xen/guests/hostname.cfg

# Attach console to a running domU/VM
xl console hostname

# To get out of the console again, CTRL+5 is still used.

# Kill a running VM, unclean brutal shutdown
xl destroy hostname

# List running virtual machines/domU's
xl list

# List network adapters (inc MAC) of a given domU
xl network-list hostname

# Real-time status, TOP for Xen
xl top
References and pointers.
This is an update to my old post about Xen on Debian Wheezy. There is more than a little information there that I haven't covered here, because the old info is still correct.
A bit of info on the new-style network interface names can be read at https://major.io/2015/08/21/understanding-systemds-predictable-network-device-names/
General documentation links
For more references, simply refer to the old post 🙂
VPN setup on Cisco IOS that works nice with Windows 7 and Linux w/ NetworkManager
I have a Cisco 2691 router running IOS 12.4 series at home currently, and I've been planning to cook up a VPN setup on it that allows me to connect back home, and also to "trombone" my way back out from home. I wanted toe setup to be as short and simple as possible, but still include encrypted communication. Finally, I wanted this to be available using "standard setup" client software on my XUbuntu+NetworkManager laptop, as well as Windows 7.
The "kicker" that made me finally cook this up, was the need to easily demonstrate to a colleague as well as a few students a simple way to do road warrior VPN using a Cisco IOS router as the termination point.
My setup uses Microsoft PPP Extensions to get encrypted communication, and as such it is a form of PPTP VPN.
The important bits to understand this setup is:
- I use the IPv4 range 10.0.5.0/24 (or rather a subset of it) for the VPN clients.
- VPN clients connect to my "Internet" facing address, located on FastEthernet0/0
- All my internal networks, including VPN clients, use NAT with overload (PAT) for IPv4 communication with "the world"
I suppose it should be possible to use a Mac as a client for this setup too, but to be honest, I can't be bothered to check 🙂
aaa authentication ppp VPDN_AUTH local

!

ip name-server 10.0.2.2

!

vpdn enable

!

vpdn-group RoadWarrior

! Default PPTP VPDN group

 accept-dialin

 protocol pptp

 virtual-template 1

!

username vpntest privilege 7 password 7 053D1601114D5D1A0E550516

!

interface FastEthernet0/0

 description Internet

 ip nat outside

 !...

!

interface Virtual-Template1

 ip unnumbered FastEthernet0/0

 ip nat inside

 peer default ip address pool VPNPool

 no keepalive

 ppp encrypt mppe auto

 ppp authentication ms-chap-v2 VPDN_AUTH

!

ip local pool VPNPool 10.0.5.2 10.0.5.31

!

ip nat inside source list NAT interface FastEthernet0/0 overload

!

ip access-list standard NAT

 permit 10.0.5.0 0.0.0.255
WordPress XMLRPC is a liability
This week I re-launched my blog, and I really wanted to do so silently, without the useless "Oh look, I've upgraded" type of post that so many publish (including myself in the past). But I was hit by a very common abuse-vector that prompts me to write a few words about it. The problem: DoS via WordPress XMLRPC. I've installed WordPress 4.0, a version where flaws in the XML-RPC mechanisms allowing it to be used as part of bot-nets and the like are supposedly resolved. But, after having my new WP installation active for less than 24 hours, my server ground to a halt, with ridiculous load numbers (190+ load), all caused by accesses to /xmlrpc.php
What is XML-RPC anyway?
The XML-RPC API is used by WordPress for a few things. The useful part, is making third-party publishing and administration applications for both desktop and mobile. But it is also used for so-called "pingbacks" and "trackbacks", where WordPress itself notifies other WordPress installations that links to their content has been created in articles/posts/pages. As this mechanism is supposed to run without user intervention, it's done without authentication, unlike the third-party client enabling admin/publish features of the API.
Insecure by default
Before WordPress 3.5, the XML-RPC API was something you had to actively enable. So to be able to use the API for publishing clients and/or pingbacks and trackbacks, you had to be aware of that the API existed, and enable it. For a number of reasons, I think that was a really good idea. Perhaps primarily because the XML-RPC used to have some seriously big flaws that could be used as vectors for abusing a WordPress installation. Now, from version 3.5, most of these flaws have been fixed. And with that, someone decided that users of WordPress are not very bright, and having to enable an API before using a third-party client was very complex and too hard for the users to understand. So they enabled the API by default. And removed the option for turning it off easily! How can possibly having an open API for anonymous, un-authenticated generator of HTTP-requests enabled by default, with no filtering, be a bad idea, right?
Xen on Debian Wheezy (with VLAN networking and LVM storage).
TODO: Add an introduction paragraph, or ingress (so having READ MORE makes sense...)
Preparing the operating system
The absolutely first step in getting a Xen capable Debian Wheezy server, is to install Debian Wheezy. Really, there are no special tricks to this “step”, simply install a base system to your liking. I would reccomend NOT installing any X/Desktop environment at all; keep your Xen server a text-based system. Remember to install SSH server, as you'll probably be remote-managing the system. I'll also suggest you install NTP, VIM and Screen as part of the base install. After completing debian-installer:
apt-get install ntp vim screen
The rest of this prep-section is specific to my setup, you may skip down to “Installing Xen” if you like. In my setup, I'm using two RAID sets, one hardware-array with RAID1 for my root filestystem, and one software-array with RAID5, used as a physical volume for LVM. To set up these, the following packages are needed:
apt-get install mdadm lvm2
Next, to create my sfotware-RAID, I used (after a lot of testing to get acceptable IOPS from the disks):
mdadm --create /dev/md0 \
      --verbose \
      --level=5 \
      --chunk=256 \
      --raid-devices=4 /dev/sd{a,b,c,d}
That creates my /dev/md0, as I said, I'm using that as a PV for LVM:
pvcreate /dev/md0
vgcreate sraid5 /dev/md0
Installing Xen
Networking with VLANs on Debian Wheezy
This is a short note on using tagged VLANs on Debian Wheezy. Setting up and using VLANs on Wheezy is slightly changed from previous versions. The most notable difference is that vconfig is finally deprecated also for Debian, and that the “vlan-raw-device” stanza is gone from configuration.
In this short document, I assume that you know how to set up VLAN trunking and -tagging on the network-equipment that your Debian-box is connected to.
Bacula backup server on Debian Lenny, with remote SQL server
This node is a REALLY REALLY incomplete scratch-space for my bacula-related node…
What is Bacula?
First of all, if you are reading this, I hope you have at least a minimal knowledge of what Bacula is. As in, at leas you know that is is a system for backup, recovery and verification of computer data. Hopefully, you also know that it is a scalable, enterprise-ready solution, and you are prepared for that.
As with everything else that gets labeled 'enterprise', and even 'scalable', Bacula is a system that is split into several parts, and is highly configurable. This gives great flexibility, at the cost of being rather complex to set up compared to smaller, simpler systems.
If you are looking to back up your workstation, and only that, bacula is probably not for you. The same is probably true if you are looking at doing backups for a small set of computers; say two-to-four. On the other hand, if you are planning on doing backups for a greater number of systems, across operating systems, and/or require dependable backup volume control, bacula is probably very well suited.
If you are coming from a commercial Enterprise backup solution, you may be surprised (hopefully pleasantly) to see that setup of Schedules, Clients, Jobs and the like are done in text-based configuration files, rather than a point-and-click GUI (or cryptic command line console).
Debian Lenny based PXE boot setup
In this document I will document my base PXE boot-server setup. It is my intention to have quite a few “features” in my setup, including:
-
Menu-based selection of boot options
-
Booting of installers for several open-source operating systems
-
Booting of Live-environments for several open-source OS.
-
A selection of system-tools, like disk-shredder, partitioning tools, disk-backup and antivirus
-
Support for chainloading other net-boot mechanisms.
The setup is built on Debial Lenny, and is based on pxelinux, a part of the syslinux tools. In general, PXE-booting will be useful for booting x86/ia32-related hardware. Details related to making individual operating systems and distributions PXE bootable are left to separate articles.
Creating a Read only Debian Lenny system
The task here is: at work, we have these cute little Vesa-mount-sized computers originally manufactured by DMP Electronics as the eBOX 4310, rebranded as NorhTec MicroClient Sr, that we are going to use backpack-mounted on large-screen HDTV's for our internal digital signage project.
These little boxes are to have no spinning disk, and an as reliable as possible system. To get no moving parts, the boxes skip using a hard drive, and we are setting them up with Compact Flash (CF) as the main storage. But, as any documentation will tell you, CF has a limited number of write-cycles, and as a result of that, it is desirable to have the system running with its filesystem read-only once booted.
Internally we normally standardize on CentOS for servers, and Ubuntu+Fedora as supported desktop Linux'es. But none of these are really “dead simple” to make read-only-rootfs, and to be honest comes with too much bloat in my opinion. So I am trying to do this using Debian Lenny. Debian is stock, standard, known tech, easily modified (ref. Pebble, LEAF, DSL, Ubuntu, Mint), and supportable. The base install is also fairly easy to make small.
Installing Debian Lenny on the Cobalt RaQ4/RaQ550
My preferred method for installing Debian (or any compatible OS really) onto the RaQ, is the "out-of-body" installation. This requires an i386 - i586 (fairly old) PC with IDE/ATA available as a boot controller. There is quite a bit of "post install cleanup" to do compared to a standard Debian install, so read on...